The large ornaments were stamped in Lucky Limeade ink and for the smaller ones I used Primrose Petals ink. After stamping 20 of each ornament onto Very Vanilla CS I die cut the 40 shapes - making sure to cut the two different ornaments together so I only had to run the dies through the Big Shot 20 times! 5 of each ornament shape are left flat but all the others are folded in half. 3 folded ornaments are glued together and then glued to 1 flat ornament to make the 3D shapes.
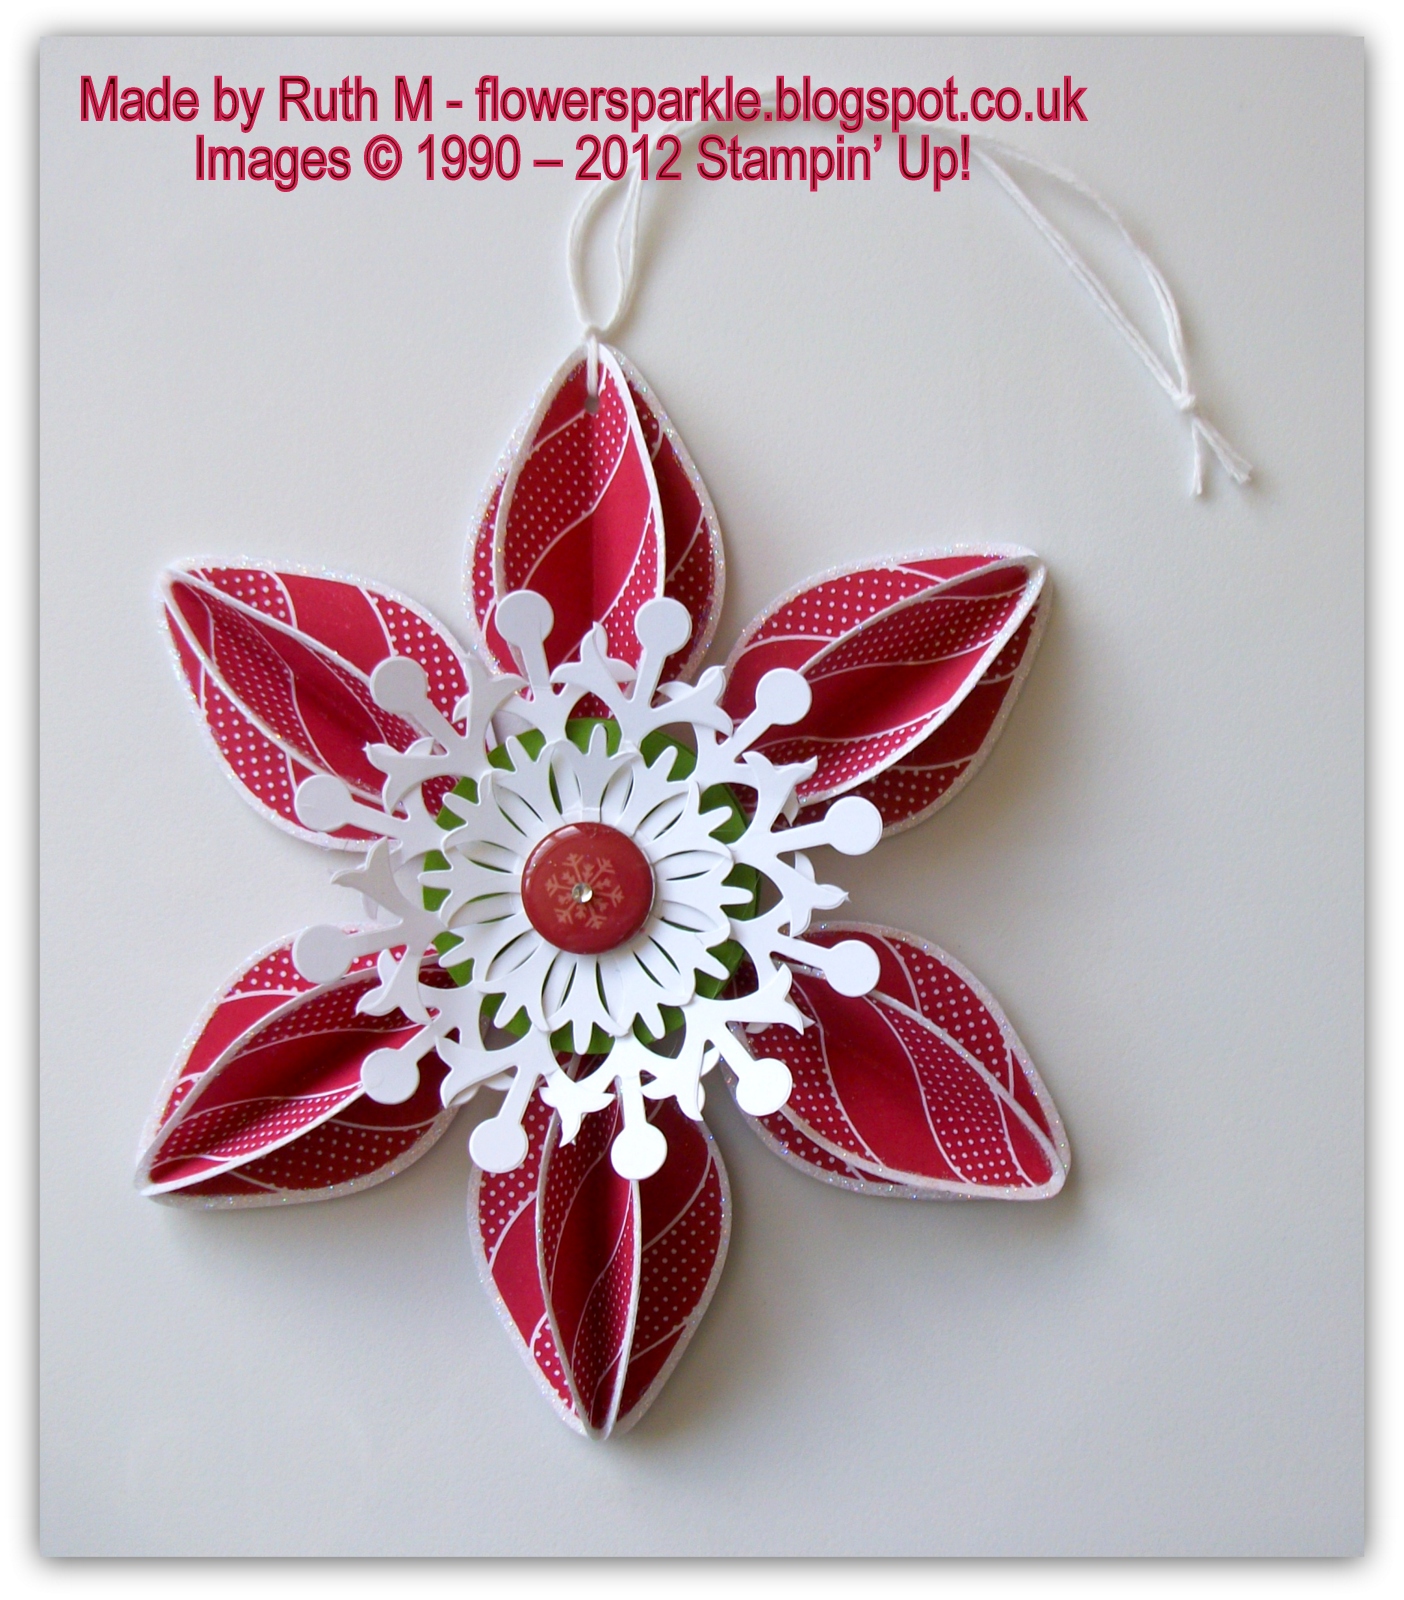
To assemble the ornament, Joanne cleverly provided us with a very useful star template with a circle in the centre which ensured we positioned the 5 green ornaments so they were equally spaced. The SU! Silicone Craft Sheet is translucent so you can easily see the paper template underneath - brilliant! Firstly a 1 3/4" punched circle was glued to the craft sheet and then I glued the green ornament shapes to the circle. I left the glue to set for a couple of minutes and then the whole assembly just peels away from the craft sheet. Then it was hot glue gun and tulle time - you need 5 lengths of tulle 3 scallops long and the tulle pieces are glued between the green shapes with the hot glue. I didn't place my tulle far enough in but I know better for next time! Joanne's ornament, like the ornament on the front of the catalogue, has loops of linen thread added at this stage but I opted to leave those out. Then the smaller ornament pieces go on next and you squiggle them in at an angle so they face upwards a bit and rest just above the green ornament edges. Next it's time for the rosette - I have to admit to cheating with my rosette - I die cut mine beforehand using the Sizzix Mini Paper Rosettes die. Joanne made her rosette using a strip of paper and the SU! Simply Scored tool. I hot glued the rosette on and then spent ages considering various options for the centre.
Decisions, decisions! I had a vintage glass button that I acquired from my neighbour Kath who has an old button tin full of all kinds and sizes of buttons and she said I could help myself to whatever I wanted. I spent a very happy afternoon one day going through the tin and choosing a few buttons. Anyway, I didn't like how the the clear glass button looked. Joanne used an Antique brad on top of a 3/4" punched circle which looked really nice. The punched circle would have covered up the pinky/red colours on my rosette and so I didn't like that look either! I then tried a Build-a-Brad with different patterned papers and nearly went with that but the winning option was the simplest - a large pearl which came from the SU! Pretties kit. I punched a small hole at the top and threaded linen thread through as a hanger. There is a Primrose Petals punched 2 3/8" scalloped circle on the back so things look neat and tidy at the back.
It's a time consuming project, I found the die cutting the most tedious part. However, it is so worth the effort when you've completed the ornament! I will definitely make at least another one and may even make more - we'll see! My initial reaction when I saw the ornament was "no way!" and I envisioned myself failing miserably and ending up sobbing if I tried to make it! Joanne, Elizabeth, Wendy and Zoe all persuaded me to attend the workshop and have a go and I am so glad they did! Huge thanks to all of them for having more faith in me than I had in myself!
Stamps: SU! Ornament Keepsakes set
CS: SU! Very Vanilla & Primrose Petals
Patterned paper: SU! Candlelight DSP
Ink: SU! Lucky Limeade & Primrose Petals
Tools: SU! Holiday Ornaments Framelits dies, hot glue gun, SU! Silicone Craft Sheet, 1 3/4" circle punch, 2 3/8" scalloped circle punch, Sizzix Mini Paper Rosettes Decorative Strip die
Embellishments & accessories: SU! Cherry Cobbler Scalloped Tulle Ribbon, large pearl from SU! Pretties kit, SU! Linen Thread