Tuesday 31 December 2019

Three Trees and Deer Yuletide Season Christmas Cards

These are the last three Christmas cards I made for me to use in 2019.  These cards were made using the SU! 'Dashing Deer', 'Winter Woods' and other stamp and die sets, the 'Softly Falling' embossing folder for texture and some Dazzling Diamonds Glimmer Paper for the all important seasonal sparkle.

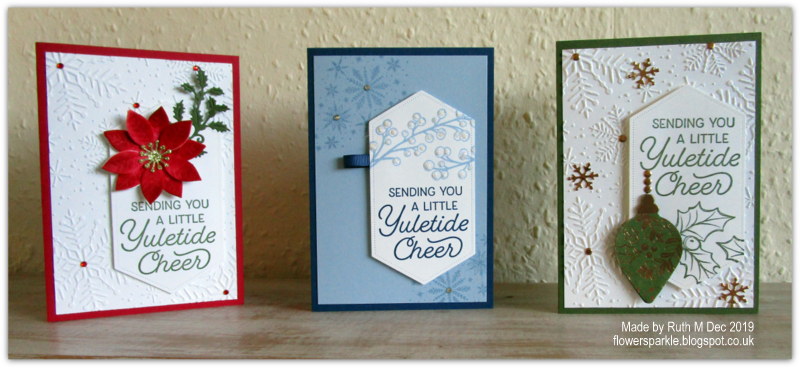
I do love to see a group of cards together!


Here is just one card.  The colour combo is Mossy Meadow, Pear Pizzazz, Soft Suede and Whisper White.  The large trees, the deer and the sentiment squares were all popped up on Dimensionals.  I added three die cut snowflakes cut from the Dazzling Diamonds Glimmer Paper to complete the card fronts.


Here is a closer look to show the texture and sparkle better.


Here's how I decorated the inside of each card.


Here's how I decorated each envelope flap.  The sentiment was perfect as I gave one card to my hubby and the other two cards went to very dear friends.


Supplies:
Stamps: SU! 'Dashing Deer', 'Winter Woods', 'Greatest Part of Christmas', 'Frosted Foliage' & 'Christmas Gleaming' sets
CS: SU! Mossy Meadow, Pear Pizzazz & Whisper White, SU! Dazzling Diamonds Glimmer Paper
Ink: SU! Mossy Meadow, Pear Pizzazz & Soft Suede
Tools: SU! 'Detailed Deer', 'In the Woods', 'Snowfall' & 'Stitched Shapes' die sets, circle punch, 'Softly Falling' embossing folder
Embellishments & accessories: SU! Dimensionals

Ruth

Saturday 28 December 2019

One Sketch Layout - Nine Christmas Cards

Following a card layout makes a card come together quickly and easily and that's very welcome at Christmas!  I made nine cards for my card group ladies using one sketch layout.  I kept the same sentiments and used the same 'Nested Label' die cut shape. 

Here are all nine cards.


Here is a group of three cards.


A second group of three cards.


The last group of three cards.


Card one.


Card one inside and envelope.


 Card two.


Card two inside and envelope.


Card three.


Card three inside and envelope.


Card four.


Card four inside and envelope.


Card five. 


Card five inside and envelope.


Card six.

 Card six inside and envelope.


Card seven.


Here's a closer look at the poinsettia.  I used a technique where you stack layers of single ply napkins plus one CS layer (the CS layer goes at the bottom) before die cutting a shape.  Once the shapes have been die cut you add colour using water and your chosen medium - I used Real Red and Cherry Cobbler inks from a re-inker bottle applied using an Aquapainter.  You then need to let the shapes dry completely before assembling.  I loved the velvet like finish and the different colour shading - some of the napkin layers needed to be glued together and I wasn't keen on that aspect!  I'm glad I tried the technique but it's not something to do if you're pressed for time and you need to make quite a few.


 Card seven inside and envelope. 


Card eight.


Card eight inside and envelope.


Card nine.

 Card nine inside and envelope.


 It was great fun to use the same layout with different colours, techniques, supplies and embellishments to end up with nine different cards!

Ruth

Thursday 26 December 2019

December 2019 Card Group Projects

Whew, December was a busy, busy month!  Finally I've got some time to share the cards we made at our December card group meeting.  We only make two cards at our Christmas meeting as we send time having some festive fun along with the crafting!  Both cards were made using images from the SU! 'Pop of Petals' set.

The first card is a Christmas card featuring a stamped wreath using an image from the 'Pop of Petals' stamp set.  I made a Real Red A6 size card base and added a patterned paper flagged banner .  I die cut a circle from a piece of CS and used the negative piece to draw a pencil circle on a piece of white CS so I had a guide as to where to stamp the images to form the wreath.  I stamped three layers in Pretty Peacock ink - first I stamped three times in stamped off twice ink, second I stamped three times in stamped off once ink and then the third layer was stamped three times in full strength ink.  I used a stitched square die to cut out the panel and glued that over the top of the banner.  I stamped the gorgeous sheer ribbon bow from the SU! 'Wishing You Well' stamp set in Real Red ink, fussy cut it out and popped it up on the side of the wreath.  To complete the card front I added three clusters of red rhinestone jewels.


Here's the inside and the enveloope.  I drew a line with a Real Red marker from the sentiment and added a patterned paper punched ornament.  I used a metallic Sharpie to colour the top of the ornament.  The element for the envelope was made from a stamped sentiment and more punches.


The second card is a birthday card using flower and leaf images from the 'Pop of Petals' set and an almost monochromatic colour combo - Rococo Rose, white and a little pop of Old Olive.  I stamped the 'Hardwood' background stamp on the front of the card base - the stamp isn't wide enough to cover the entire front of an A6 card front so I cut off a bit from the side and glued a white panel inside the card.  I stamped the sentiment, cut out the 'Stitched Nested Label', stamped three flowers in Rococo Rose ink going from full strength to stamped off twice and layered the stamped flowers onto plain punched flowers.  I stamped two leaves, fussy cut them out, tucked them behind a flower and popped the whole label up.


Here's the inside and envelope.  I used a background stamp and sentiment from my much loved 'Butterfly Basics' stamp set for the inside and punched flowers for the envelope.


Santa couldn't make it to hand out the Secret Santa gifts, but it was OK as an elf was on hand to do the job!


What a lovely afternoon we had, I'm looking forward to starting a whole new year of card groups in January 2020! 

Supplies for Christmas card:
Stamps: SU! 'Pop of Petals', 'Wishing You Well' & 'Christmas Traditions' stamp sets, Hero Arts '???' set
CS: SU! Real Red, Pretty Peacock &Very Vanilla

Patterned paper: SU! 'Brightly Gleaming' Specialty DSP
Ink: SU! Real Red & Pretty Peacock
Tools: SU! 'Gleaming Ornaments' punch pack, 1/4" circle punch, 1 1/4" circle punch & 'Pretty Label' punch, MFT 'Fishtail Flags' Stax die
Embellishments & accessories: SU! red rhinestone jewels, Dimensionals


Supplies for birthday card:
Stamps: SU! 'Pop of Petals' & 'Butterfly Basics' stamp sets, SU! 'Hardwood' background stamp
CS: SU! Rococo Rose & Whisper White
Ink: SU! Rococo Rose & Old Olive
Tools: SU! 'Stitched Nested Labels' die set, SU! 'Four Petal Flower' punch
Embellishments & accessories: SU! Dimensionals

Ruth

01 09 10