This card features the paper piecing technique which I haven't done in a while. It was a very time consuming card to make due to the multiple stamping to get different colours and then the fussy cutting. Also I had to stamp the snowman many times to get clear impressions, in places it was very blotchy. I've had the stamp for many years and it hasn't held up well but I persevered to get one last card made with it. Sad to say this cheery snowman stamp has now been sent to stamp heaven! Here's the card and envelope together.

I used a kraft 6" x 6" card base and the mat layer is SU! Bermuda Bay CS. I cut the white panel with a stitched rectangle die and embossed it with the SU! 'Winter Snow' embossing folder, fast becoming a favourite folder! I used SU! Stampin' Blends here and there to add some dimension to some paper pieced areas and I added some sparkle with Xmas Red Stickles on the holly berries and gloves. The white panel and the snowman are both popped up on Dimensionals. I wanted to use a wobble spring for the snowman but the snowman tipped forward, it wouldn't sit right and the bottom of the snowman kept hitting the white panel so I had to settle for a popped up snowman! Cheery red and white gingham ribbon adds a nice touch and I added snowflake sequins, self adhesive snowflake embellishments and some gold glittered red gems for some festive fanciness.
Here's the inside of the card.
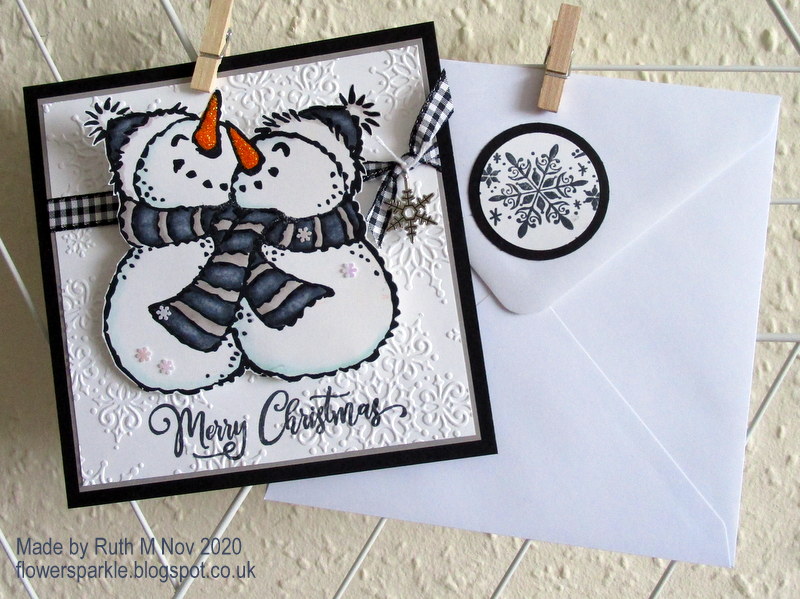
Here's the envelope.
Supplies:
Stamps: Woodware 'Patch Snowman', SU! 'Joyful Holly' & 'Snowflake Wishes' sets, Hero Arts 'Holiday Cheer' set
CS: Dovecraft 6" x 6" kraft card & envelope, SU! Balmy Blue, Basic Gray, Bermuda Bay, Crumb Cake, Garden Green, Pumpkin Pie, Real Red, Soft Suede, So Saffron & Whisper White
Ink: SU! Balmy Blue & Real Red, various SU! Stampin' Blends, Memento Tuxedo Black
Tools: SU! 'Winter Snow' embossing folder, 'Stitched Rectangles' die set & circle punches, Claina Palmer 'A6 Double Stitched Nested Dies' set
Embellishments & Accessories: red & white gingham ribbon, snowflake sequins, Xmas Red Stickles, SU! self adhesive snowflake embellishments, Wonderful Gems & Dimensionals