I saw Laurie Zoellmer's video on Dawn Olchefske's blog so first I watched that to get an idea of what I should be doing. Then I busily stamped and die cut 24 ornaments and then folded 18 of them in half. I watched another video recently of someone making the big catty front ornament and she had glittered the edges of the die cut baubles. I love a bit of sparkle so I thought I'd do that - umm yeah, this was one of those "it seemed a good idea at the time but I probably won't do that again!" ideas - there was glitter EVERYWHERE!
I then glued 6 lots of 3 folded ornaments together and then glued those to the 6 unfolded, flat ornaments to form the 'petals'. Then I was ready to fire up the hot glue gun and attach the 6 petals together. Oh my giddy aunt - that hot glue is messy and there are so many glue strings - but it holds stuff together really well! I messed up when gluing my pieces together, I had much more of a gap in the centre than Laurie's ornament, I should have positioned my petals closer together. I had to use a LOT of glue! So I covered the centre with a 2" Gumball Green circle and then added my Snow Flurry die cuts. I cut 2 each of the large and medium snowflakes, offset them and placed a snowflake patterned brad in the centre to hold them together. Then I attached that to the Gumball Green circle and added a rhinestone jewel to the centre of the brad. I punched a hole at the top of the ornament and used white baker's twine as a hanger.
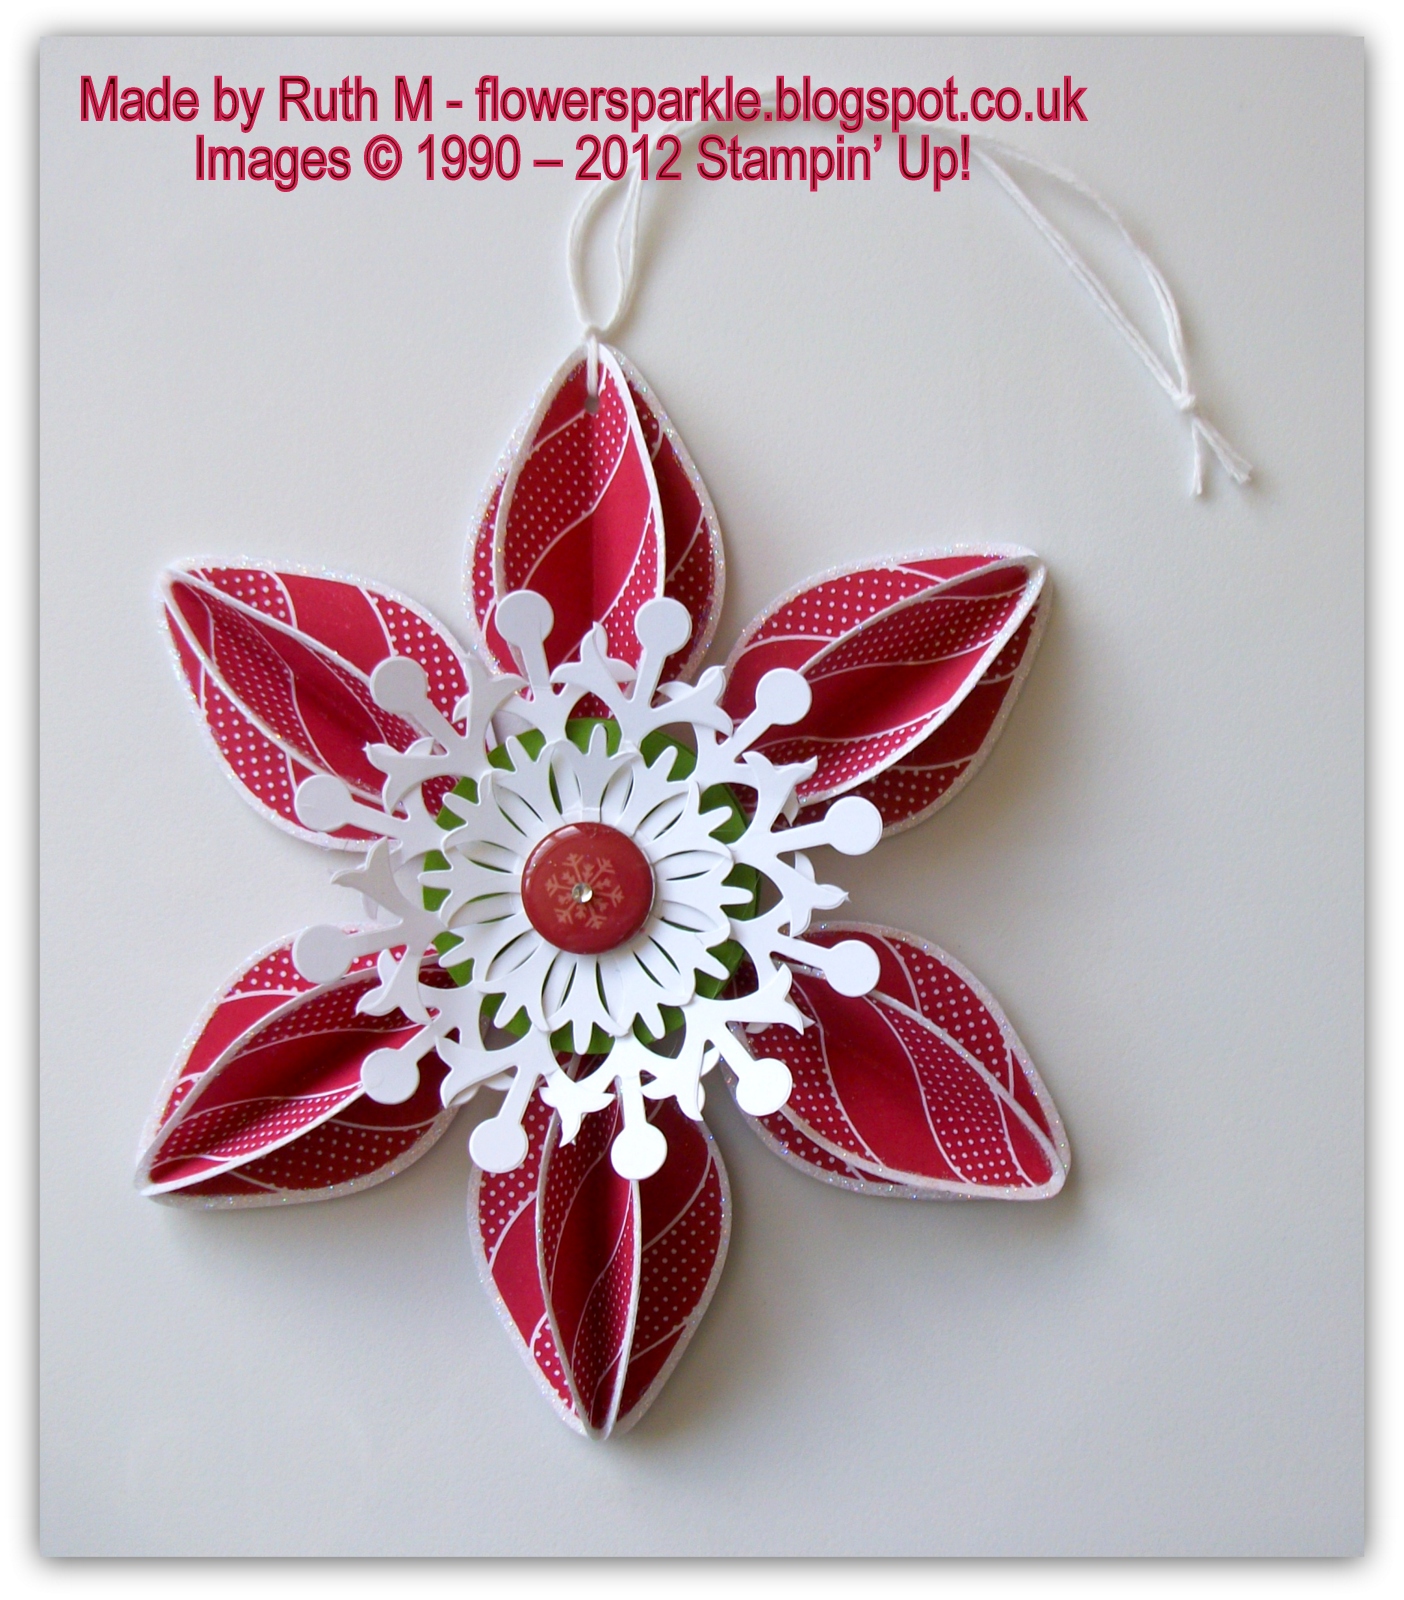
Here's a close up so you can see some sparkle on the edges.

There was definitely a learning curve involved in making this and I know what I'd do differently next time. I'm now looking forward to tackling the big ornament on Saturday, it will be great fun doing it as a group and there may be steam coming off our Big Shots with all that die cutting involved!
Supplies:
Stamps: SU! Ornament Keepsakes set
CS: SU! Whisper White & Gumball Green
Ink: SU! Raspberry Ripple
Tools: SU! Holiday Ornaments Framelits die, SU! Snow Flurry Bigz die, circle punch, hot glue gun & heatproof craft mat
Embellishments & accessories: SU! Dazzling Diamonds glitter, Dovecraft Christmas brad, jewel rhinestone

3 comments:
Fabulous!! Will have to give that a try.
This is excellent, I've seen the video you're talking about, well done for 'sticking with it' (pardon the pun!)the result is well worth the effort. The second one will probably be a doddle!
Good luck hun, this one looks amazing but if it took 24 die cuts to make this one how many does it take to make the giant one?? EEK!!
That snow flake die looks so good in the middle, wish I'd got that now, sob sob!
Can't wait to see that giant ornament!
Kelly xx
Post a Comment