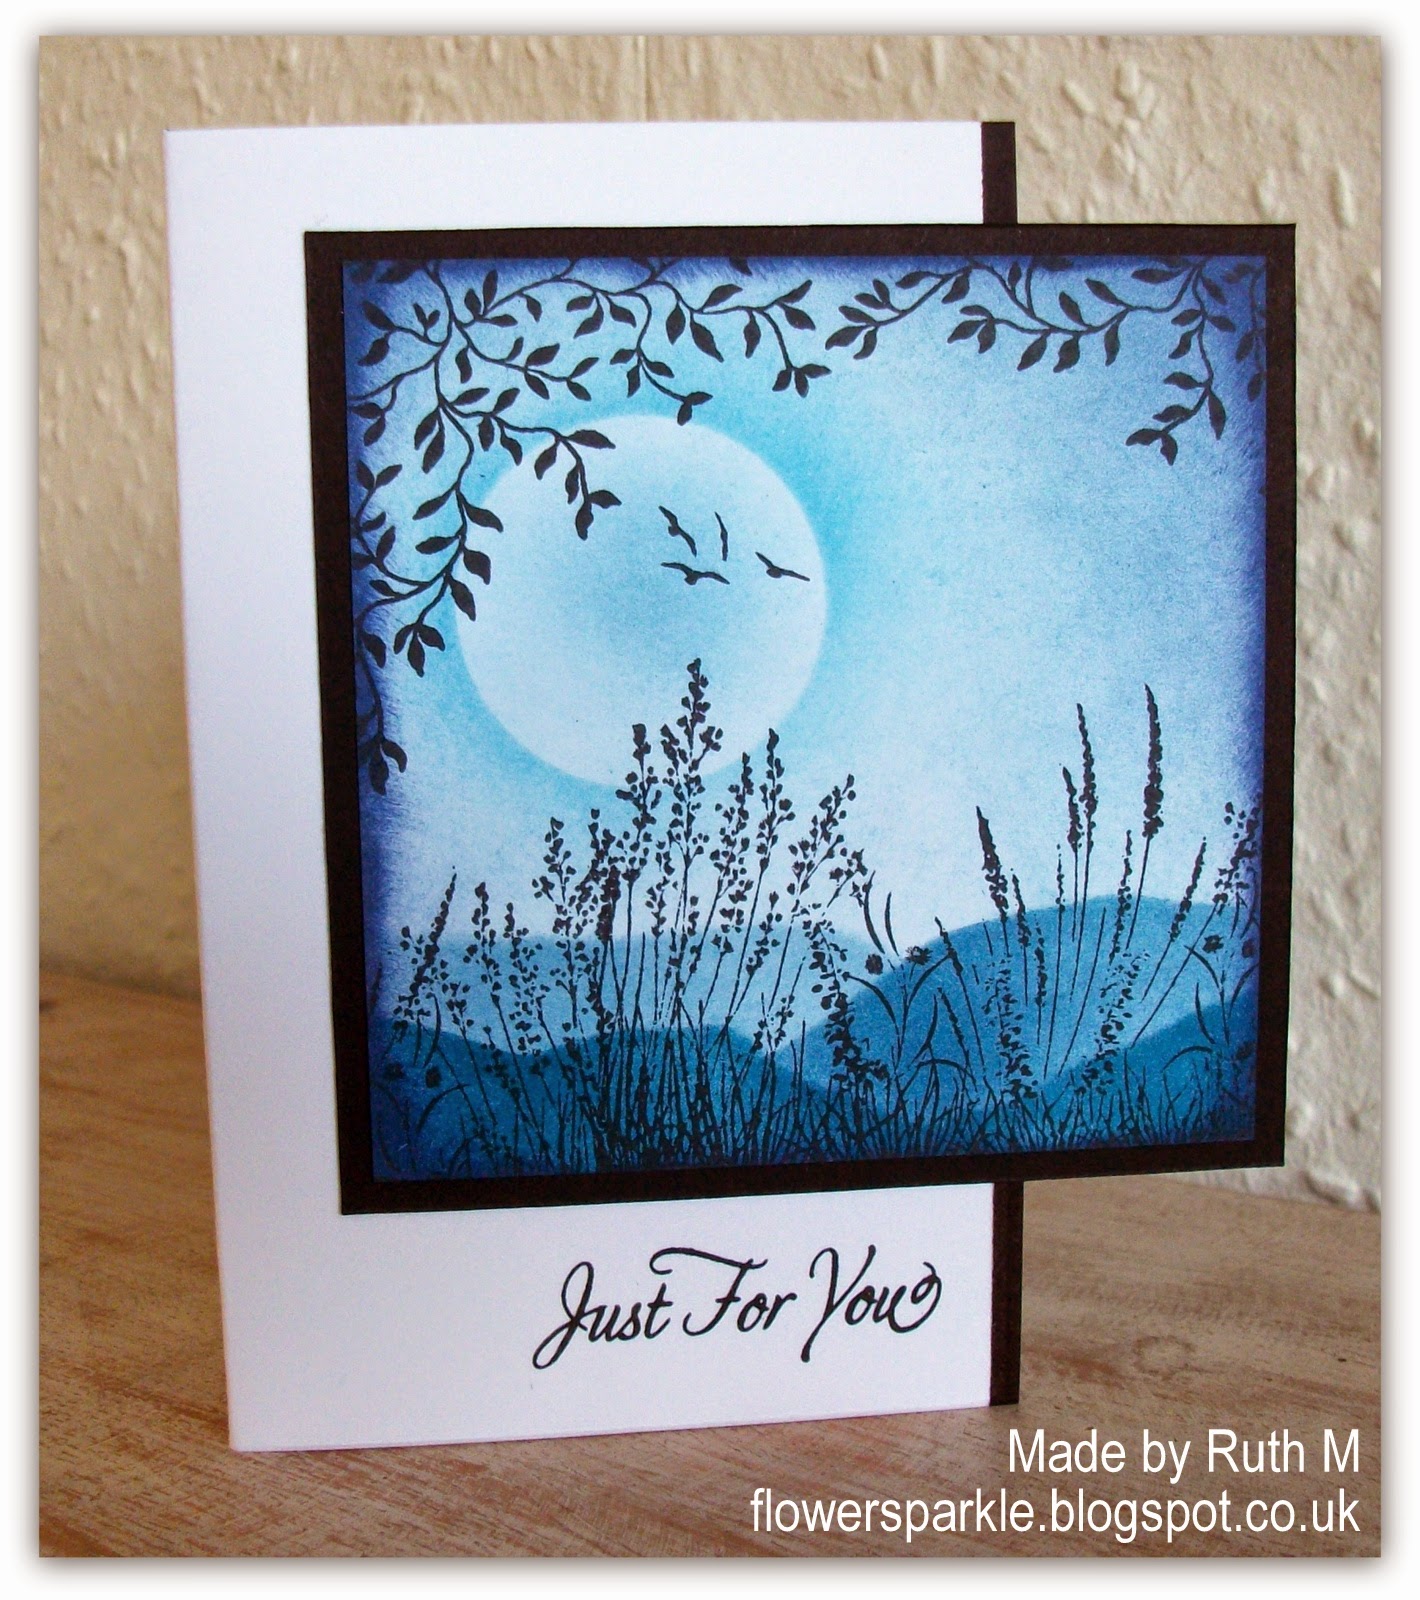
So here's the brayered card first. I used a 1 1/2" punched circle for the moon mask and applied Soft Sky ink to the Whisper White CS square with the brayer. Once I was happy with the ink coverage I removed the moon mask and used a piece of torn paper as a mask to add some hills at the bottom of the panel. I started at the bottom and brayered Island Indigo ink, followed by Faded Jeans ink and lastly Marina Mist ink, moving the torn paper mask up a bit each time and holding it in place while brayering. I stamped the silhouette images in black ink, inked the edges of the panel with Island Indigo ink using a sponge dauber and layered the panel onto a black CS mat. I cut 2" off from the side of a 5 1/4" white square card base, drew a line with a black marker, stamped the sentiment and glued the scene panel to the card.

Here's the card showing the back as well as the cut off panel.

I decorated the inside and the envelope by stamping the Delicate Vines image a few times and added a bit of colour using inks and sponge daubers.

For the second card I switched from the brayer to ink duster brushes. I tried using a duster brush with an SU! ink pad but it didn't work for me, I think the consistency of the SU! firm foam pads aren't ideal for picking up ink with a duster brush. Therefore, when using ink duster brushes I'll stick to using Memento and Distress Inks. I dusted Memento Summer Sky ink lightly over the panel first, then applied the moon mask, dusted on more Summer Sky ink, then Bahama Blue ink, followed by Faded Jeans ink and a bit of Chipped Sapphire ink. At the time I bought my ink duster brushes I also bought the mountain and valley plastic stencil mask from Inkylicious and I used that on this card instead of torn paper. The stencil is fab - it's double edged with valleys on one side and mountains on the other, you can flip it over to vary the mountain and valley shapes, it's made of durable plastic and is easy to clean (I just rinse it under the tap after I've finished). I started at the bottom and applied Memento Teal Zeal ink, for the next lot of hills I used Faded Jeans ink and I also used Faded Jeans ink for the third lot of hills but I used less ink and a lighter touch when dusting. Again I stamped the silhouette images in black ink but I edged the panel for this card with Chipped Sapphire ink.
For inside and the envelope I stamped the Delicate Vines image again but this time I added colour using the ink duster brushes and Bahama Blue and Faded Jeans inks followed by Chipped Sapphire ink applied with a sponge dauber.

Here's both cards side by side, the brayered card is on the left and the brushed card on the right. I can see why the ladies chose the ink duster brush method.

There are some superb videos showing how to use ink duster brushes, Deby from Inkylicious has produced a video which can be found HERE showcasing her gorgeous scenes made with the starter kit. Sally Holmes has made three videos demonstrating her use of the ink duster brushes and her scenes are breathtakingly beautiful! Sally's YouTube video tutorials can be found HERE and Sally's blog can be found HERE. I found the videos extremely helpful and I'm more confident about using the brushes now - I'm miles away from Deby's and Sally's standards and I can't get that clouds effect that Sally does! However, I'm happy enough with the results I'm getting and I love that I can get more of a graded colour using the brushes, I don't get that look when I use a brayer, my brayered panels are much more flat. Personally, I'll carry on using the duster brushes if I want to create a scene or background but my brayer will get an outing if I want to ink an embossing folder, add colour to a dry embossed panel or ink up a large background stamp!
Supplies for brayered card:
Stamps: Inkylicious 'Picture Perfect' set & 'Delicate Vines' stamp, WaltzingMouse 'Say It With Style' set
CS: PaperMania square white card blank, SU! Basic Black & Whisper White
Ink: Memento Tuxedo Black, SU! Soft Sky, Marina Mist & Island Indigo, SU! Basic Black marker
Tools: brayer, 1 1/2" circle punch, sponge daubers, torn paper mask
Supplies for brushed card:
Stamps: Inkylicious 'Picture Perfect' set & 'Delicate Vines' stamp, WaltzingMouse 'Say It With Style' set
CS: PaperMania square White card blank, SU! Basic Black & Whisper White
Ink: Memento Tuxedo Black, Summer Sky, Bahama Blue & Teal Zeal, Ranger Tim Holtz Faded Jeans & Chipped Sapphire Distress Inks
Tools: Inkylicious ink duster brushes & valley/mountain stencil mask, 1 1/2" circle punch, sponge dauber

1 comment:
Two stunning cards! You are obviously very accomplished with both brayer and dusters, but like you I prefer the dusters. Thanks for the mention and for promoting my videos xxx
Post a Comment