Showing posts with label Hero Arts. Show all posts

Wednesday, 9 April 2014

Starburst Lace Split Negative To You From Me Cards

These are the cards Angela and Janet made when they came round for a crafty afternoon a little while ago.  They wanted to use heat embossing and the split negative technique again.  Angela made black, white and Wisteria Wonder cards and Janet made Night of Navy, Pool Party and white cards.


I used the very pretty Hero Arts Starburst Lace stamp which is ideal for the split negative technique.  I explain my method of using the split negative technique on my blog post HERE.  The smaller circles in the centre of the starburst are popped up.  After adhering the sentiment circles I completed the card fronts with punched flowers and a sprinkling of rhinestones.


Here's how the insides and envelope flaps were decorated. The coloured "ribbon" was made with a die cut which I then dry embossed.  The die is from the fabulous Finishing Touches Classic 3D Bow set designed by Sue Wilson for Creative Expressions.  This set was very, very highly recommended to me by my friend Lesley.  She absolutely raved about the set and after I got it too I could definitely see why!


On both the envelope fronts I just had to put more ribbon strips topped with bows and punched flowers!  The die set comes with two sizes of bows (I've used the smaller size), the ribbon strip die, two ribbon tails dies (one downward tails and one across ways tails which is the one I've used here)  plus a small strip die for gluing around the centre of the bow.  Embossing the die cut shapes using the Spellbinder's tan rubber mat adds really lovely detailing - I'm loving my new bow dies and will probably have to be restrained from putting a bow on anything and everything LOL!   The bows were a huge hit with Angela and Janet too and the die set was promptly added to their crafty shopping list!


Supplies:
Stamps: Hero Arts 'Starburst Lace', 'To You from Me' from SU! 'Best Yet' set
CS: PaperMania 5 1/4" square white card blanks, SU! Wisteria Wonder, Night of Navy, Pool Party, Basic Black & Whisper White
Ink: VersaMark, VersaFine Onyx Black, SU! Wisteria Wonder, Night of Navy & Pool Party
Tools: circle Nestabilities die, circle punches, Woodware flower punches, Creative Expressions Finishing Touches Classic 3D Bow die set,  heat tool, Stamp-a-ma-jig
Embellishments & accessories: SU! white embossing powder, Embossing Buddy, rhinestone jewels & Dimensionals


 photo RoseRuth.gif 


Monday, 24 March 2014

Flower Garden Happy Birthday Card-In-A-Box

On Saturday I had my friends Jan and Wendy round to make a card and I designed this card-in-a-box for them to make.  These are taking the card making world by storm, there are loads of card-in-a-box examples on Pinterest!  It was great fun, I really enjoyed putting this together!  Tanya has an excellent card-in-a-box video tutorial on YouTube HERE.  I followed Tanya's measurements so that the finished card fits inside a C6 envelope.  Monica Gale also has an excellent card-in-a-box video tutorial HERE - Monica's version fits inside a 6" square envelope.  I used Monica's measurements for my first card-in-a-box which is shown on this blog post - along with some fabulous examples from my talented friend Lesley!

After cutting and scoring my Crumb Cake CS piece for the card base I stamped the SU! Hardwood stamp several times using Soft Suede ink.  I just LOVE this stamp!  I then used my Hero Arts & Sizzix 'Flower Garden' stamp and die combo set.  I stamped the flowers, bees and the ladybird onto watercolour paper, die cut them and added colour with inks and a waterbrush.  I added Glossy Accents to the ladybird body and Star Dust Stickles to the bee wings.  I also added tiny gems to the bee eyes.  Using a dauber I sponged Soft Suede ink around the back panel and the fold down flaps to add a bit of definition.  I punched a strip of Old Olive CS using a grass punch and wrapped it around the 3 sides.  I glued my crossbar pieces inside the box and attached my flowers.  I punched 2 small strips of grass to cover the front of the 2 crossbar pieces.  I popped one bee up onto the back panel, I attached the other 2 bees to strips of acetate and adhered them inside the box.  I popped up the ladybird at the bottom, popped up the sentiment and added a die cut and embossed butterfly.   

Here's a side view. 


Here's a close up of the flowers and bees.


Here's the back panel and the envelope.


This photo shows the card-in-a-box folded up on top of the envelope.  When making these you need to be mindful of placing your elements so that the card fits inside your chosen envelope.  As I was working on the card I kept checking the placement against the envelope and I did need to reposition a flower and a bee!


After Jan had finished making her card she was not 100% happy with how she'd stamped the wood effect on the fold down flaps as there was a bit of a gap towards the top.  So she decided to punch more grass and glue that to the top of the flaps.  What an effective solution - it looked great!  Only thing was - she glued the grass pieces to my card instead of her own!  Bless her, she was mortified but I assured her I was more than happy with the end result.  Jan only realised when she'd glued two grass pieces on and found herself thinking "I know I was adding these grass bits to cover up gaps - but where are the gaps?"  We did have a good chuckle about it!  When the 3 of us get together we craft, we eat lunch and, of course, there's lots of chatting and laughing.  There well may have been a distraction somewhere along the line methinks!

Supplies:
Stamps: Hero Arts/Sizzix 'Flower Garden' stamp & die combo set, SU! 'Hardwood' stamp & 'Itty Bitty Banners' set, Penny Black 'Great Day'
CS: SU! Crumb Cake, Old Olive, Daffodil Delight, Melon Mambo & Whisper White, watercolour paper, acetate
Ink: VersaFine Spanish Moss & Onyx Black, SU! Baked Brown Sugar, Daffodil Delight, Melon Mambo, Old Olive, Pool Party, Primrose Petals, Real Red, Smoky Slate & Soft Suede
Tools: SU! score board, SU! paper trimmer, dies from Hero Arts/Sizzix 'Flower Garden' stamp & die combo set, SU! Beautiful Wings Embosslits die, Martha Stewart Grass border punch, circle punches, waterbrush, sponge dauber
Embellishments & accessories: Ranger Glossy Accents, Star Dust Stickles, rhinestones, SU! Dimensionals


 photo RoseRuth.gif


Saturday, 2 November 2013

Snowman In Snow Globe Merry Christmas Card - 52 {C}CT Nov Sketch Challenge

A new month means a new challenge hostess at 52 {C}CT and the lovely Louise has set our challenges for November.  This week at 52 {C}CT we have Louise's wonderful sketch to work with.


I started off with a white 5 3/4"square card base and I cut Old Olive and Rich Razzleberry mat layers.  Before gluing the Old Olive layer I attached strips of Soft Suede and Rich Razzleberry ribbon.  Both ribbons have the dots but I used the plain side of the Razzleberry ribbon and added punched snowflake shapes.  I stamped the snow globe image onto watercolour paper, used inks and a blender pen to colour and I fussy cut the shape.  I added Stickles to the snow and once that had dried I popped up the snow globe onto the die cut circles - the Rich Razzleberry circle is also popped up.  I stamped and die cut the sentiment label, popped it up, added rhinestones and added rhinestones to the snowflake centres to complete the card front.


I have a larger snowman stamp that is the same as the snowman inside the snow globe.  I stamped him on the inside and coloured him in.  I stamped the sentiment inside the card using Rich Razzleberry ink.  I stamped it again on a piece of CS with Old Olive ink, cut out the 'merry christmas' wording and glued it over the top.  I think a two toned sentiment is a nice touch and is easily achieved using marker pens to ink the stamp.  However, this particular sentiment is a clear stamp and I've found that markers don't perform as well on clear stamps so that's why I cut out the Old Olive words.  I used gorgeous SU! Festive Flurry stamps and dies to decorate the envelope flap.


Check out the fab cards the other DT members have made and then I hope you'll join in with our 52 {C}CT sketch challenge this week, I'd love to see your creations made using this wonderful sketch!

Supplies:
Stamps: Hero Arts 'Snow Globe' & 'Let It Snow' stamps, Hero Arts 'Holiday Cheer' clear set, SU! 'Festive Flurry' set
CS: IndigoBlu white Perfect Stamping Card, SU! Old Olive, Rich Razzleberry & Whisper White, watercolour paper
Ink: VersaFine Onyx Black, SU! Old Olive, Rich Razzleberry, Soft Suede & Pumpkin Pie, blender pen
Tools: Circle Nestabilities dies, Memory Box 'Bistro Label' & 'Chadwick Label' dies, X Cut snowflake punch, SU! 'Festive Flurry' Framelits dies
Embellishments & accessories:  SU! Rich Razzleberry & Soft Suede Dotted Grosgrain ribbons, Rhinestone Jewels, Dimensionals


 photo mousyruth.gif 

Monday, 7 October 2013

Flower, Bee & Ladybird Thank You Card - HOC Oct Sketch Challenge (Cute & Fun)

At House of Cards we're asking you to use this wonderful sketch for your challenge entries during October.  You can rotate the sketch and change shapes - as long as the layout comes through to us on the finished card it's all good!  For the first week we want to see CUTE & FUN style cards using the layout.


I used Melon Mambo CS to make the 5 3/4" square card base.  This layout is great for using patterned papers and I chose four designs from the cheery and bright SU! Sunshine and Sprinkles pack to use on my card.  I stamped on watercolour paper and coloured with inks and a blender pen.  I stamped and fussy cut a second flower so I could pop it up and stamped the sentiment.  I stamped and die cut the bee and ladybird and added fun touches - Star Dust Stickles to the bee wings and Crystal Effects to the ladybird body - then I popped both of them up.


For an extra touch of fun I cut the card front in half diagonally.


Here's the inside of the card with a sentiment and another glossy ladybird.  That ladybird with her smiley face is adorable! 


I covered the envelope flap with yellow patterned paper and added a stamped, coloured and fussy cut flower to finish.


Other members of the Cute & Fun DT have made wonderful cards for inspiration so do check them out and then please join us at HOC this week and make a Cute & Fun style card using the sketch! Everyone is welcome at our House!

Supplies:
Stamps: Hero Arts/Sizzix 'Flower Garden' stamp & die combo set, Hero Arts 'Thank You Messages' & 'Sending Smiles Messages' clear sets
CS: SU! Melon Mambo, Basic Black & Whisper White

Patterned paper:  SU! Sunshine & Sprinkles DSP
Ink: VersaFine Olympia Green & Onyx Black, SU! Melon Mambo, Daffodil Delight, Pear Pizzazz & Sahara Sand, blender pen
Tools: dies from Hero Arts/Sizzix 'Flower Garden' stamp & die combo set,
Embellishments & accessories: Star Dust Stickles, Ranger Glossy Accents, SU! Dimensionals


 photo ruthbee.gif 

Thursday, 22 August 2013

Floral Thinking Of You Card

My friends Angela and Janet came over for a card making afternoon a while ago and this is the card I designed for them both to make.  They must have enjoyed it, they made sure to book another afternoon with me before they went home!

The card base was made with Old Olive CS and measures 5 1/4" square.  I started off with some tone on tone stamping using Old Olive ink on the Old Olive card base to get a background.  I stamped and die cut the floral images, and die cut Labels One Nestie shapes from Very Vanilla and Rich Razzleberry CS.  I stamped the Crackleglaze background onto the vanilla label with Crumb Cake ink stamped off once first.  I stamped the sentiment and edged the vanilla label with Crumb Cake ink using a sponge dauber.  The large flower and one of the smaller ones were popped up and I finished off the card front by applying dots of Magenta Stickles to the flowers.


Here's a close up so you can see the fab Crackleglaze stamped background better.


Here's the inside and the envelope.


Supplies:
Stamps: Hero Arts/Sizzix 'Floral' stamp & die combo set, Hero Arts 'Paper Art' background stamp, IndigoBlu Crackleglaze background stamp
CS: SU! Old Olive, Rich Razzleberry, Pink Pirouette & Very Vanilla
Ink: SU! Old Olive, Rich Razzleberry & Crumb Cake
Tools: Labels One Nestabilities dies, dies from Hero Arts/Sizzix 'Floral' stamp & die combo set, sponge dauber
Embellishments & accessories: Magenta Stickles, SU! Dimensionals


 photo FlowerRuth.gif 


Tuesday, 23 July 2013

Dotty Flowers Happy Birthday Card

My friend Kath asked me to make a personalised birthday card for her friend Gladys.  I'd recently seen this fab card made by Mynnette which I loved and I took the opportunity to CASE her card. It was too hot for heat embossing though, I just couldn't bear to use my heat tool, I stamped the flowers in black ink instead!

I started off by stamping flowers and leaves onto Bo Bunny Double Dot papers and fussy cut them all out.  I computer generated the sentiment using the Grand Hotel font and cut that out with a flag die.  I embossed Marina Mist CS with the Honeycomb folder, Rose Red CS with the Lacy Brocade folder and glued the two panels to a 5 1/4" square white card base.  I cut a slit in the spine of the card so I could thread Rose Red seam binding ribbon around the card and I added Marina Mist grosgrain ribbon over the top.  I curled the leaves and glued them to the card front and popped up the flowers and sentiment flag.


Here's the inside and the envelope with a sentiment and more popped up dotty flowers. 


Supplies:
Stamps: Hero Arts 'Sew Me Jewel Flowers' clear set, Penny Black 'Lovely Day'
CS: PaperMania 5 1/4" square white card blank, SU! Marina Mist, Rose Red & Whisper White

Patterned paper:  Bo Bunny Double Dot 'Raspberry', 'Frost' & 'Avocado'
Ink: Memento Tuxedo Black, SU! Rose Red
Tools: SU! 'Honeycomb' & 'Lacy Brocade' embossing folders, MFT Fishtail Flags Stax die
Embellishments & accessories: SU! Rose Red seam binding ribbon, Marina Mist grosgrain ribbon, Dimensionals


 photo CatGingerRuth.gif


Saturday, 22 June 2013

Trees & Snowman Joyful Christmas Season Card - 52 {C}CT June Embellishment Challenge

We've got a fab embellishment challenge for you at 52 {C}CT this week - Jacqueline has chosen sequins and pearls.


I knew I wanted to use sequins as ornaments on Christmas trees and I was so chuffed to find that my sequins were the perfect size for the Hero Arts tree stamp I chose to use!  I made a Baja Breeze A6 card base, tore white CS for snow, stamped the sentiment and glittered the snow edges with Star Dust Stickles.  I tucked the trees behind the snow and popped up a cheery snowman.  I punched red stars to top the trees and added gold sequins to the star centres.  I then punched tiny snowflakes and added pearls to the centres to complete the card front.


Here's the inside and the envelope with more sequin ornament trees - I loved them on the card so couldn't resist popping another one inside and on the envelope flap!  Can you tell I had a very happy time putting this card together?!


I hope you'll play along with us at 52 {C}CT this week with our embellishment challenge, sequins and pearls can be classy and elegant or fun and whimsical so what will you make?  I'd love to visit your blogs to see your fab creations!  Please check out the cards from the other DT members, there's bound to be lots of inspiration there!

Supplies:
Stamps: Hero Arts 'Joy Snowman' stamp & die combo set, 'Joyful Christmas Season' cling set, 'Very Merry Christmas' clear set, PSX 'Snowflake Medley'
CS: SU! Baja Breeze & Whisper White
Ink: Memento Tuxedo Black, SU! Baja Breeze, Gumball Green, Real Red & Pumpkin Pie, blender pen
Tools: Tree & Snowman Sizzix Framelits dies from 'Joy Snowman' stamp & die combo set, Woodware star & snowflake punches
Embellishments & accessories: pack of coloured sequins, Star Dust Stickles, SU! Pearl Jewels, Dimensionals


 photo HeartSwingRuth.gif

Saturday, 1 June 2013

Joyful Christmas Season Tree Card - 52 {CCT} June Sketch Challenge

It's Jacqueline's turn to host the challenges over at 52 {C}CT in June and she's starting us off with this fabulous sketch.


It's such a versatile one I think!  I chose to rotate the sketch and started off by making an Old Olive 5 3/4" square card base.  I've used a new to me Hero Arts stamp set that I picked up at my LSS in the sale section where they have supplies that have been used in classes and demos at great prices.  Hmmm, I'm heading for that section of the shop quite frequently, I can't resist a bargain!  For the tree, sentiment and snowflake I inked the stamps with VersaMark and then immediately inked them again with Old Olive ink. I stamped the images, sprinkled on SU! Iridescent Ice embossing powder and heat embossed.  They are very colourful and sparkly!  I then coloured parts of the tree and snowflake with Old Olive and Cherry Cobbler markers.  I layered the Very Vanilla panel onto Cherry Cobbler and gold mats.  For the scalloped border portion of the layout I've used some Cherry Cobbler Dotted Scallop ribbon - but I've used the plain, non dotted side.  I punched some circles, added some gold nailheads and popped the snowflake circle up.


Here's a close up of some iridescent sparkle.


Here's the inside of the card and the envelope.  The stamp set I used contains the sweet dove with the olive branch in its beak and I was determined to use it somewhere on the card!  I used markers and a blender pen to colour the dove, fussy cut the image and popped it up onto the sentiment square with thin 3D foam pads.  I stamped more snowflakes, coloured parts of them with markers and cut them out with circle punches to finish.


I hope you'll join  us this week for our sketch challenge at 52 {C}CT and make a festive card using this fabulous layout!  I look forward to seeing what you make!

Supplies:
Stamps: Hero Arts 'Joyful Christmas Season' cling set, Penny Black 'Beautiful Season'
CS: SU! Old Olive, Cherry Cobbler & Very Vanilla, Imagination Crafts Satin Gold CS
Ink: VersaMark, SU! Old Olive & Cherry Cobbler
Tools: heat tool, various size circle punches, square Nestability dies
Embellishments & accessories: SU! Iridescent Ice embossing powder, Cherry Cobbler Dotted Scallop ribbon, gold nailheads, Dimensionals, 1mm 3D foam pads


 photo ruthcatonbranch.gif

Tuesday, 28 May 2013

Hearts & Lips Thank You Card For Hubby

This is a thank you card I made for hubby after he'd ran a few errands for me and helped out while I was busy prepping for a card class.  In the afternoon I went to the local craft shop, the Glitter Pot,  with my friend Jan as they were holding a demonstration weekend.  I saw a fence die that I really liked but it was too pricey for my liking.  It turns out Jan bought the die ages ago and had never used it so she very sweetly said I could have it.  Of course, us crafters want it and we want it NOW so that meant another errand for Owen after I'd got home!  He happily went to collect the die from Jan so I thought a thank you card was in order at the very least!

While at the craft shop I made a beeline for the ex class and demo sale section and I picked up the Hero Arts 'Write Your Own' cling stamp for a bargain price.  I really like that it looks like notepaper so I tried to play up the stationery feel for the card.  I made a Basic Gray A6 size card.  I stamped the image in grey ink onto white CS, trimmed it to size and punched the top edge with a spiral binding punch.  I used markers to colour the scalloped portion and added black taffeta ribbon.  I stamped the lips and sentiment, punched a large plain red CS heart and some smaller glitter CS hearts.  I glued three hearts together, attached them to the notepaper with a crafty paper clip and popped the small hearts up.  I popped up the whole panel, added the scalloped border and rounded two corners of the card.


Here's the inside and the envelope.  I'm happy to say Owen loved the card!


Yesterday we went out with friends for a picnic and enjoyed clear blue skies and sunshine - today it has rained non stop so far - what a miserable change!  Ideal crafting weather though!

Supplies:
Stamps: Hero Arts 'Write Your Own',  SU! 'S.W.A.K.' stamp & 'Curly Cute' set
CS: SU! Basic Gray, Real Red, Basic Black & Whisper White, Red & Silver Glimmer Paper
Ink: Memento Tuxedo Black, SU! Real Red & Basic Gray, Blender Pen

Tools: SU! 'Spiral Binding', 'Full Heart' & 'Heart to Heart' punches, Scallop Border punch, Crop-A-Dile Corner Chomper
Embellishments & accessories: SU! Basic Black taffeta ribbon, SU! Clips Assortment, Dimensionals


 photo RainRuth.gif

Monday, 13 May 2013

Happy Birthday Mynnette! * Blog Hop *

Today is the marvellous Mynnette's birthday and a blog hop has been arranged in her honour.  Happy Birthday Mynnette, I hope you enjoy your surprise blog hop and have a wonderful day!  If you are hopping along you came here from the very sweet Sandie's London Days blog, welcome!

To celebrate we have birthday cards for Mynnette and we also have blog candy on offer!  In order to have a chance to win, you need to visit each blog and leave a comment on each one, including this one. You will have until 5:00 PM EST on Thursday May 16th to leave your comment. One of the sites will be randomly chosen and we will randomly choose a winner from the comments on that site, using Random.org. The winner will be posted Friday May 17th!
 
Our instructions were to go to Mynnette's blog, choose one of her cards to CASE and then make our version into a birthday card.  Sounds all fine and dandy doesn't it, nice and easy?  Have you ANY idea how many fabulous creations are on Mynnette's blog to choose from?!  I spent hours - happy hours I must say! - at On a Stampage.  I set up a secret board on Pinterest and as I came across CASE candidate cards I pinned.  I kept pinning, then I narrowed it down and I finally chose this beautiful card to CASE.


Here is my version.  I stayed pretty faithful to Mynnette's card, I just changed the colours and used a doily in place of the scalloped circles.  


To make the flower and leaves I did some 'messy work' as my friend Jan calls it.  For messy work I place my craft mat on my desk, pat ink pads on it, spritz the mat with water and then smoosh a piece of CS around until the piece is covered.  I dry the piece with a heat tool, stamp the images and fussy cut them.  For the flower I used Pretty in Pink, Regal Rose and Melon Mambo inks and for the leaves I used Pear Pizzazz and Old Olive inks.  It's such a satisfying, fun technique but you do get very inky hands!  

I punched a circle of Old Olive dotty paper to go inside a builder brad to embellish my flower centre.  After I'd stamped the sentiment I wished I'd used two different colours so I then stamped it again on a separate piece of CS in Old Olive ink, cut out the words and glued them over the top.   I popped up the doily and the flower and added the Mynnette signature bling!   

Here's the inside.


Here's the front of the envelope.


Your next stop on the blog hop is Yvonne's blog Journey Into Artistry.  Happy hopping - don't forget to leave comments as you hop to be in with a chance of winning the blog candy!

Here's the full blog hop list:

Supplies:
Stamps: Hero Arts 'Small Sweet Petals', 'Three Leaves', 'Fabulous Birthday' stamps, inside sentiment from 'Yummy Treats' clear set, SU! 'Frames with a Flourish' set
CS: SU! Old Olive, Melon Mambo & Whisper White

Patterned paper:  SU! Sunshine & Sprinkles DSP
Ink: Memento Tuxedo Black, SU! Pretty in Pink, Regal Rose, Melon Mambo, Pear Pizzazz & Old Olive
Tools: Cheery Lynn French Pastry Doily & French Pastry Doily Angel Wing dies, SU! Lacy Brocade embossing folder, SU! Eyelet Border punch, heat tool, paper piercer
Embellishments & accessories: craft mat, SU! Builder Brad, Rhinestone Jewels, Dimensionals


 photo FlowerBoxRuth.gif

Tuesday, 23 April 2013

Dogwood Especially For You Birthday Card

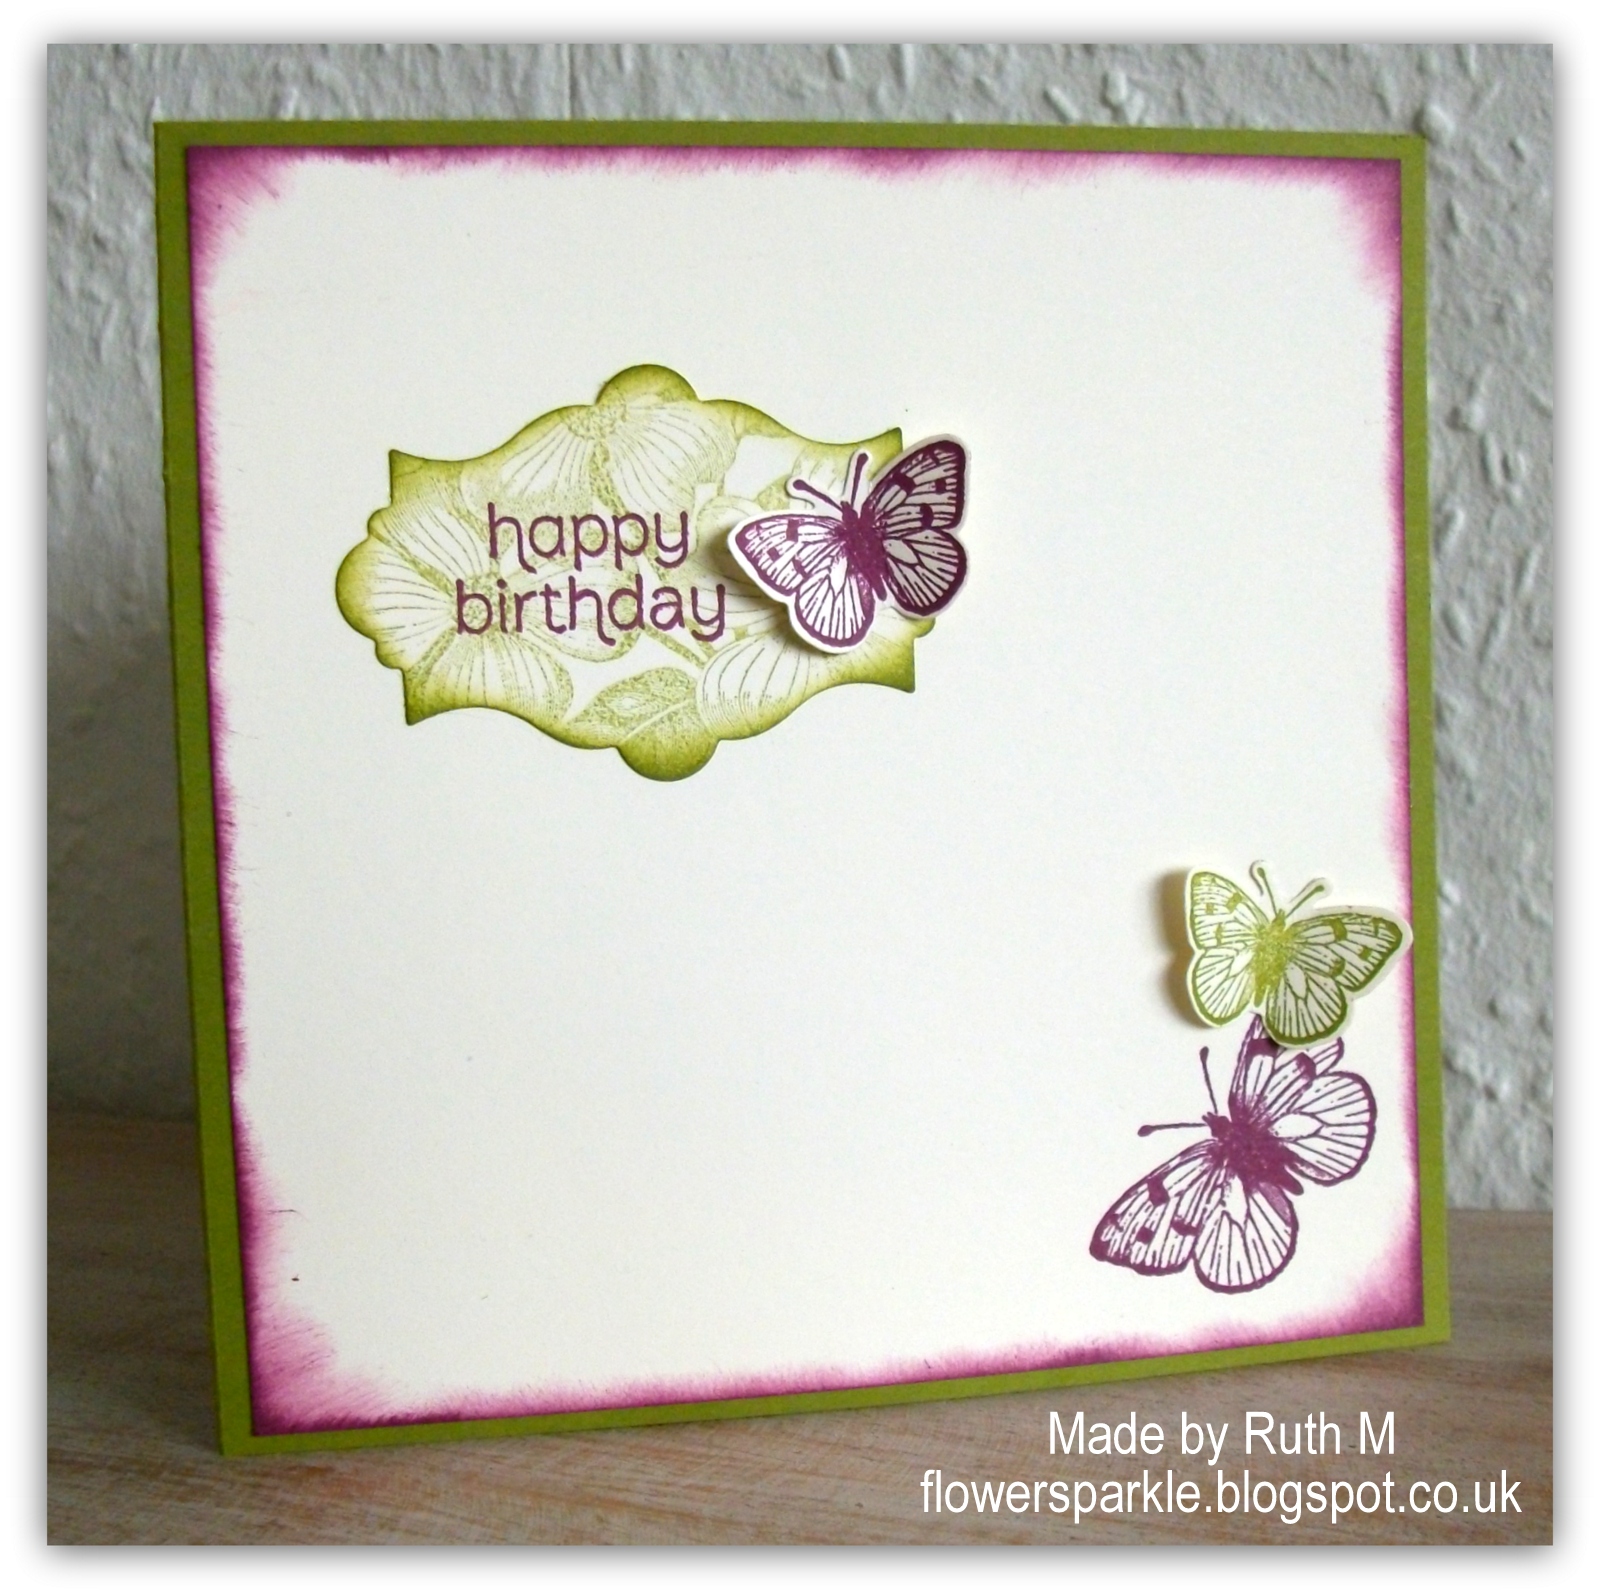
When I opened my pack of SU! Natural Composition Specialty DSP I was very happy to see a floral design that matches a dogwood stamp I have in a Hero Arts set!  The design on the paper is raised and glossy which makes it perfect for ink resist so that's what I started with for this card.

I sponged Rich Razzleberry ink over the piece of DSP, wiped off the excess with paper towel, sponged the edges of the panel with a sponge dauber and layered onto a mat of Crumb Cake CS.   I added the Crumb Cake taffeta ribbon, layered onto a Razzleberry mat and glued that to the 5 1/4" Old Olive card base.  I stamped the image twice, once in Old Olive ink and once in Razzleberry ink, I die cut both images, cut out just the Razzleberry flowers, popped them up and then popped the whole image up onto the card.  I added a stamped and die cut butterfly and popped up the oval sentiment to finish off the front.  


I cut and sponged a Very Vanilla panel for inside the card.  I stamped the dogwood image onto a separate piece of Vanilla CS with Old Olive ink stamped off once, stamped the sentiment over the top, cut it out with an Apothecary Accents die, sponged the edges and added a stamped and die cut butterfly.  I stamped a Rich Razzleberry butterfly direct to the panel and then added a smaller Old Olive stamped and die cut butterfly.


To decorate the envelope I simply stamped Rich Razzleberry dogwood images on opposite corners of the front of the envelope.  I love flower stamps but I'm not always drawn to botanical images but there is just something about this dogwood image that I find really appealing.  Finding that the DSP in the pack matched the image was a real bonus!


Supplies:
Stamps: Hero Arts 'Antique Flowers & Butterflies' stamp & die combo set, SU! 'Made for You' set
CS: SU! Old Olive, Rich Razzleberry, Crumb Cake & Very Vanilla

Patterned paper:  SU! Natural Composition Specialty DSP
Ink: SU! Old Olive & Rich Razzleberry
Tools: dies from Hero Arts 'Antique Flowers & Butterflies' stamp & die combo set, SU! Apothecary Accents Framelits die, SU! oval punch
Embellishments & accessories: SU! Crumb Cake taffeta ribbon, Dimensionals


 photo FlowerLetterRuth.gif
01 09 10