Recently I watched this video made by Natasha Foote showing how to make a floating element card and I just had to make one for myself. I loved Natasha's bright strips and I tried to replicate that look using strips of CS but my circle die just would NOT cut through the acetate and CS layers. So on my second attempt I used strips of paper and ended up with a more subtle look.
Here's the card and envelope together.
Here's the card. The papers are from the very pretty SU! 'Hydrangea Hill' DSP pack. I used a leaf die from the SU! 'Perennial Petals' die set as my inset piece. The 'friend' word was cut from a die in the SU! 'Well Written' die set. I was going to add a die cut flower to the circle but I remembered my friend had sent me a card with two gorgeous flower embellishments on and so I repurposed one of those as the colour was such a good match to Rococo Rose! I added three pastel pearls to finish the front.
Here's a closer look at the beautiful flower embellishment. I'm not sure if it really is the done thing to rip off an embellishment and re-use it - I feel once I've sent a card to someone then it belongs to them now to do with as they wish and so it doesn't do to feel too precious about it! On the other hand, if I'd made a special card specifically for someone that had taken time and effort and I discovered bits had been removed from it or it had been put in the bin I'm sure that would cause me a pang at the very least!
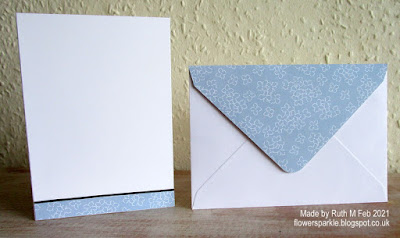
I used some of the pretty blue hydrangea paper to decorate the inside of the card and to cover the envelope flap.
Supplies:
Stamps: none
CS:
SU! Whisper White thick, Basic Black, SU! Window Sheet
Patterned paper: SU! 'Hydrangea Hill' DSP pack
Ink: black Sharpie pen
Tools: SU! 'Perennial Petals', 'All Dressed Up' & 'Well Written' die sets, M&C Boutique stitched circle die set
Embellishments & Accessories: flower embellishment, SU! pastel pearls, Dimensionals
Ruth


No comments:
Post a Comment